
This weekend when I went back home to my parents house I kept working on the triumph seat (among other things). The seat pan was pretty rusted after sitting outside for so many years. The first thing I did was sanded off as much rust and old paint as possible before spraying primer and fresh paint. While that was all drying in the garage I went inside and continued to sew.

The only thing left to sew was the bottom seam part that would be used to conceal the upholstery clips. This piece was only roughly 0.5" wide so it was very difficult to sew. If I were to do this again, I would definately give myself a greater seam allowance.

Once the lower seam was attached my Mom and myself test fit the cover over the old seat. In the photo above my Mom is telling me that we need to take the seat apart again in order to move the piping up to this point in order for the seat to look symmetrical.

So the seat comes apart again...
I kid you not, the seat was sewn and taken apart probably 3-4 times.


I never really noticed that the foam was stamped with this code, "T927 4954." I will have to look into this, maybe it is the serial code or production number.

All finished! Now its my favorite part, reassembly. Hope it all fits!

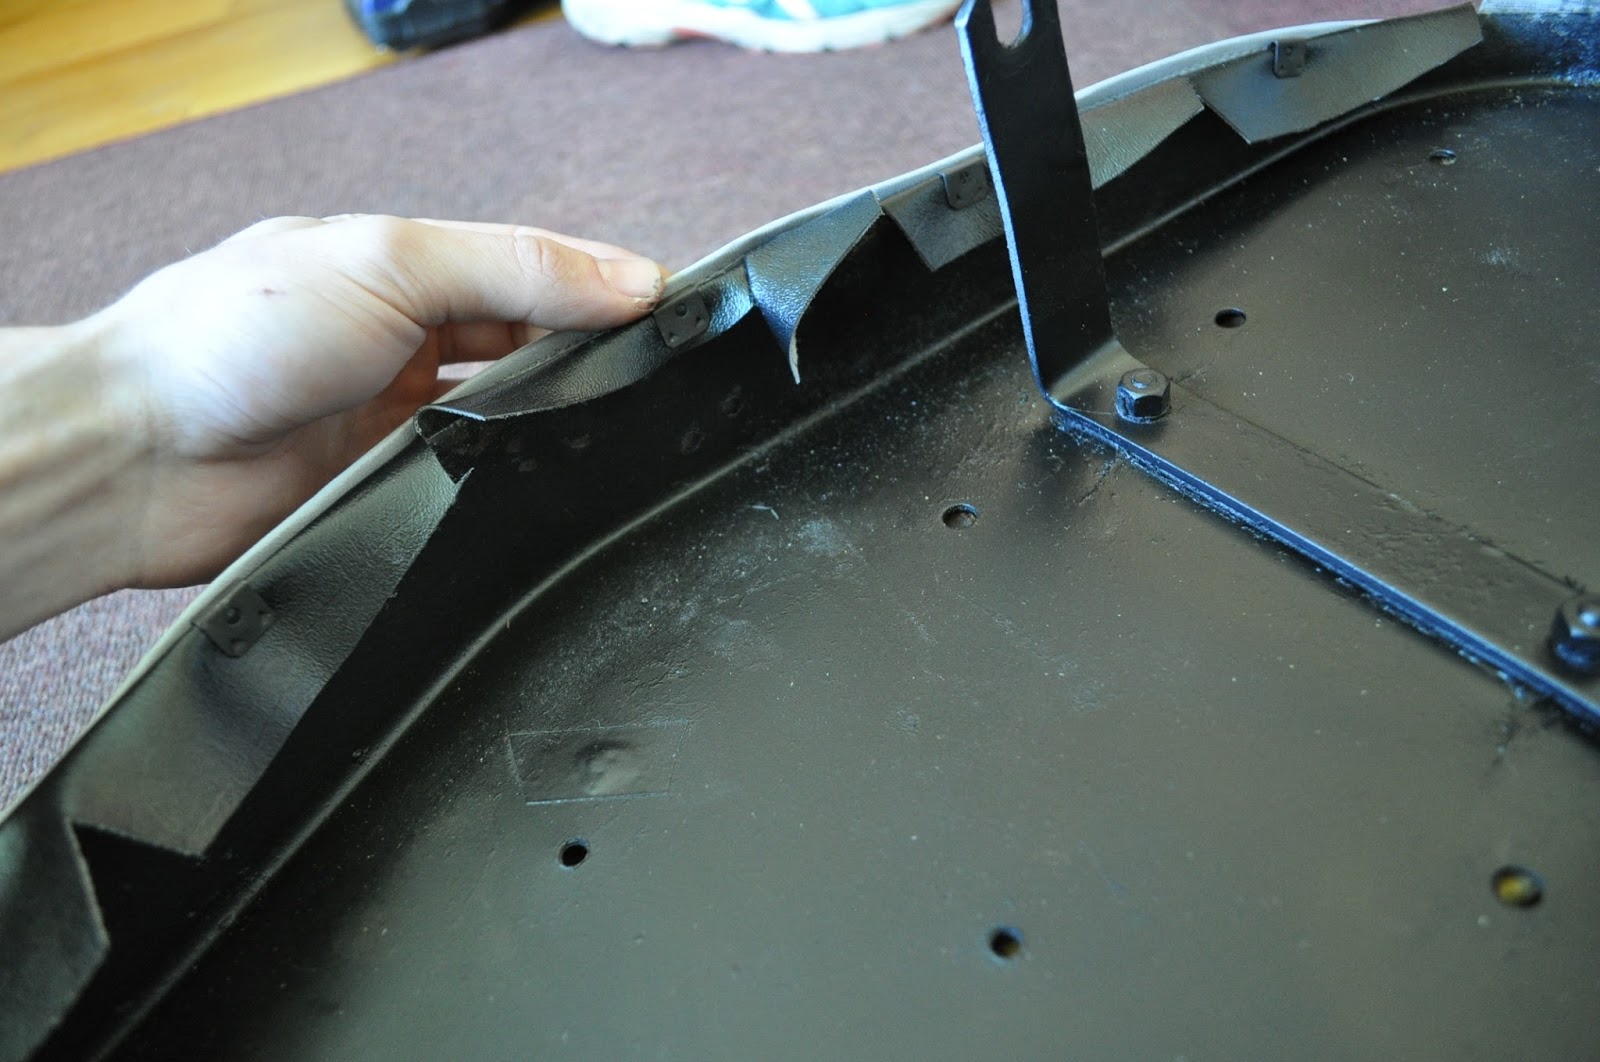
I slowly worked my way around the seat working from the center, to the front and then to the back of the seat alternating sides applying the reupholstery clips.

All Finished, I cannot wait to see how it looks on the Triumph.

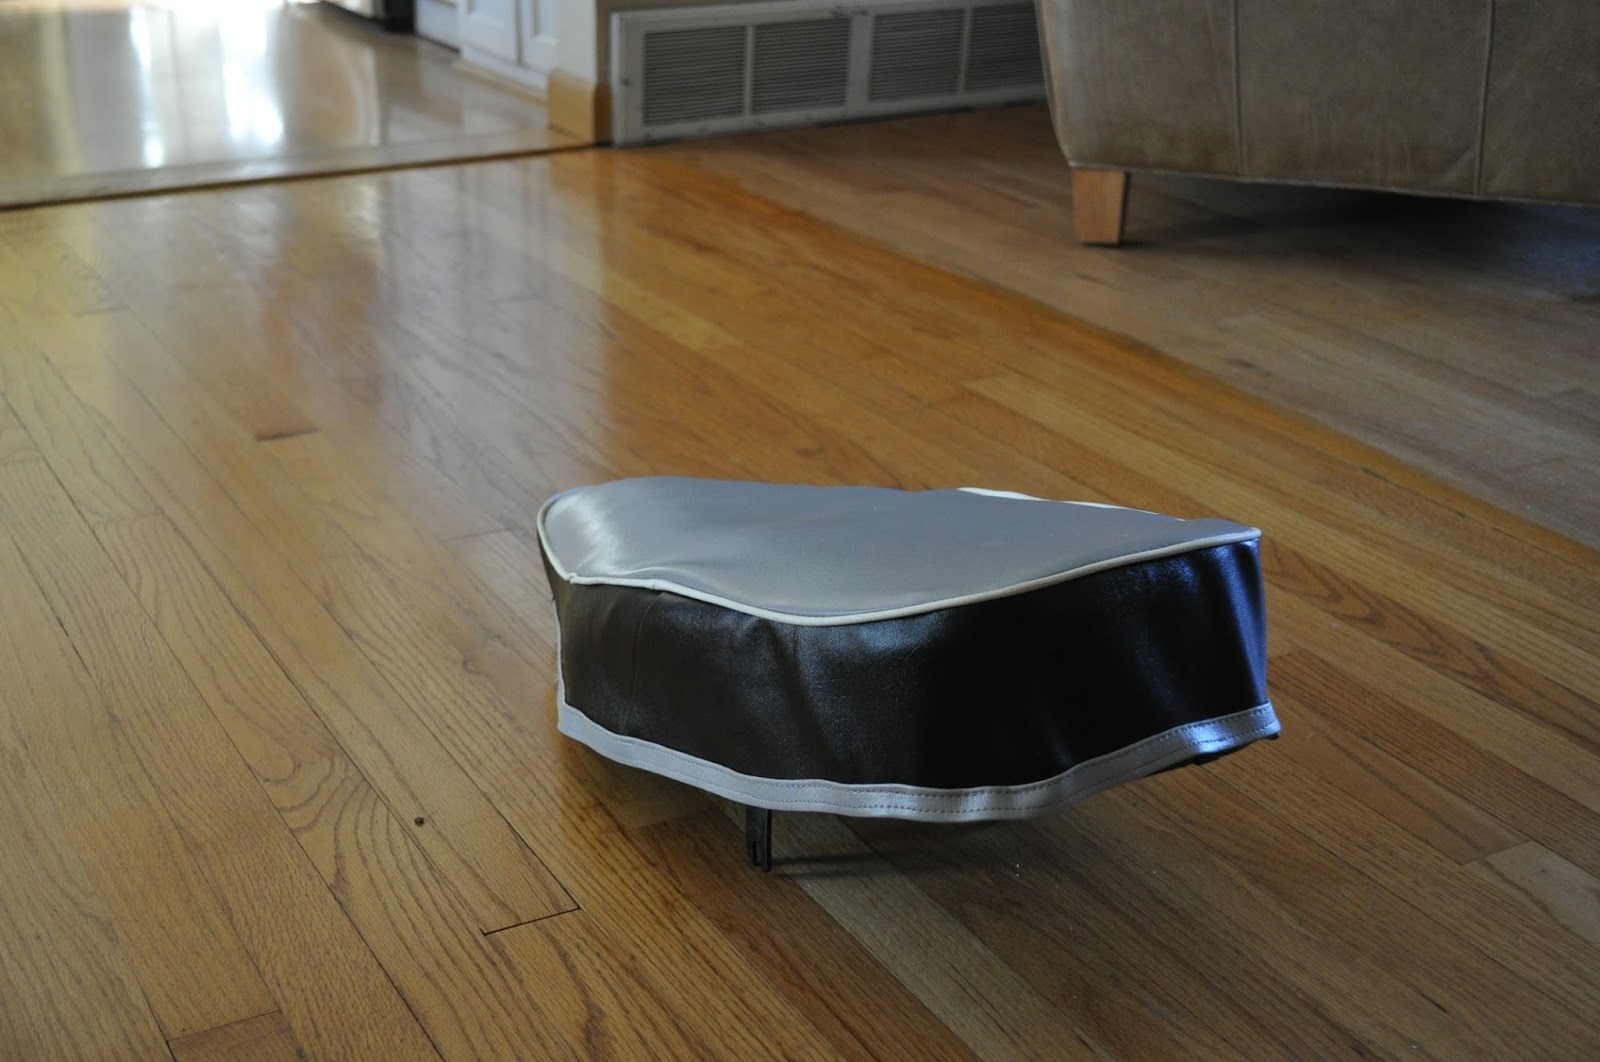
Not to shabby for only my second time reupholstering a seat! A special thank you goes out to my Mom for putting up with all my questions and badgering, I could not have done any of this without you (especially getting the seat to fit this well)!
Comments
Post a Comment