
I started with some 1.5" round stock that I originally purchased to make a rose engine lathe back when I had two smaller Craftsman 109 lathes, but those lathes just lacked the Umphf needed to turn something that was this thick. Now that I have the South bend that is quite a bit bigger, turning this was no problem.
First step is to face the end to make sure that the front face is parallel.

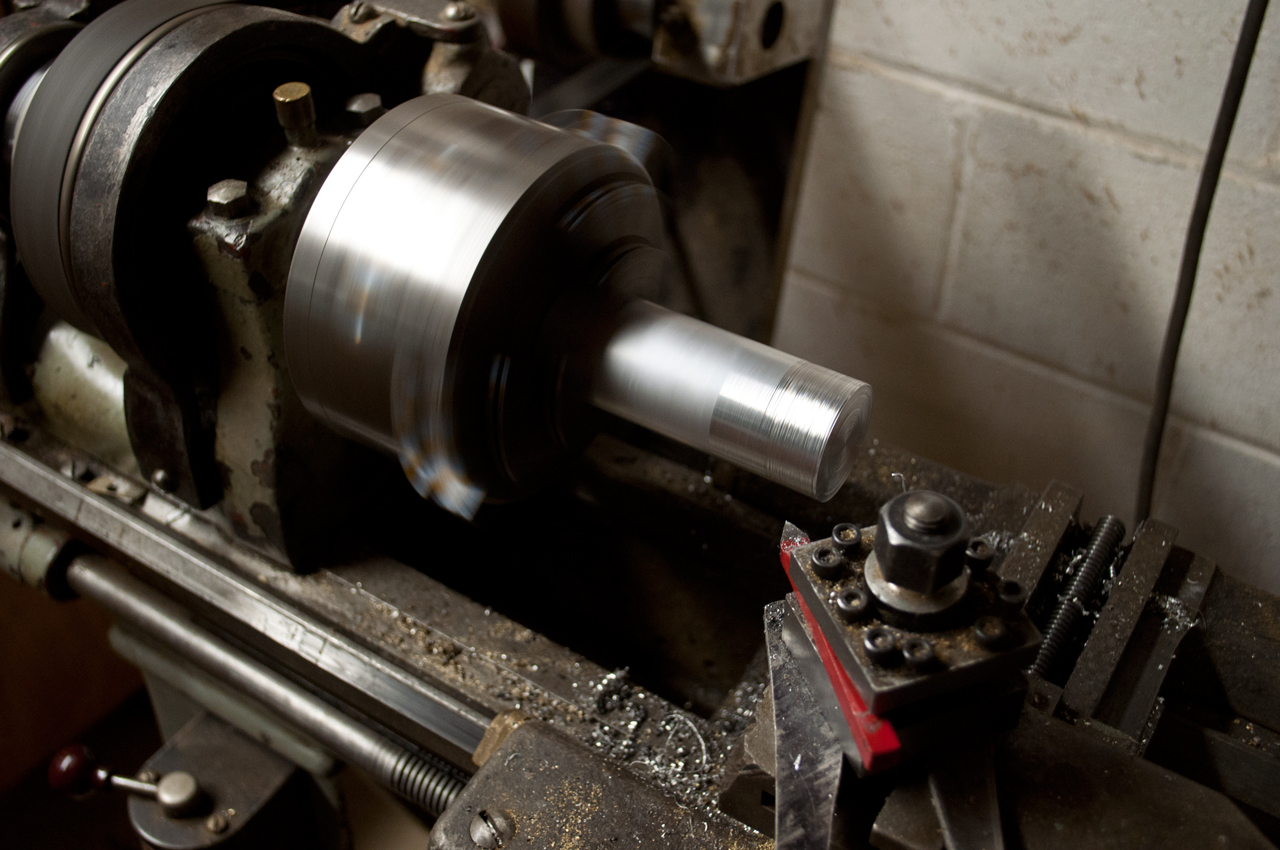
Next up, I created a small hole in the front face with a center drill and bored the metal out to 0.31".

The next step was to create the groove for the belt to ride in. Luckily, I saved a few tool bits from the Craftsman 109 lathes that I thought would be beneficial to save. I was not wrong! The tool bit that I used had a radius of 0.15" making it a perfect tool for the pulley to ride.

Last up is parting the part off the lathe. The most important thing to remember is to have the parting tool parallel with the workpiece.
I say this because I unfortunately did not.

Take a closer look above. You can see that the tool was not straight causing one ridge to be slightly thinner than I anticipated. Oh well, on to the next one.

Although this pulley would in fact work for the project that I am working on, I really want perfection, especially with a metal lathe, perfection is possible! Stay tuned to check out my second attempt at making the same pulley!
Comments
Post a Comment